Recipe: Ichigo Daifuku (Strawberry Mochi)

Sometimes I make recipes out of necessity and sometimes I like trying recipes that maybe home cooks normally wouldn’t. Sometimes, while recipes are do-able…it’s best to just leave it up to the professionals right? Would I put this recipe in that category? Yes and no. While I think I found a really good recipe and think I have done a pretty dang good job at making it…it is a bit tedious. To me it was worth it, the people I shared it with seemed to enjoy it very much and I finally found a great recipe that keeps the mochi super soft! Ahh…love it when science experiments…work!

I owe my success all to this recipe. I mean he does it better than me but still…!

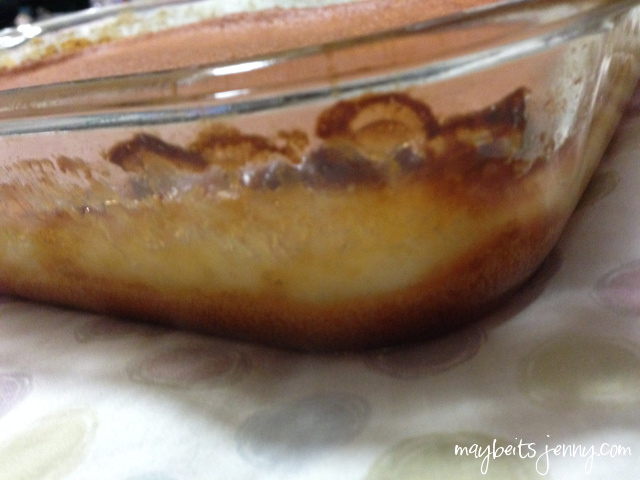
First step, did you know you need to “dry” out your koshian? Empty your entire can of koshian into your pan over medium heat and just start moving it around. How did I know it was done? Honestly when it lost all its sheen and became very paste like. See the difference between the first shot and the second shot?

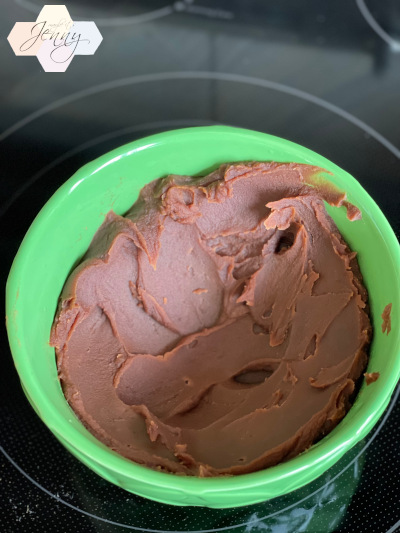
I let the koshian cool down and then place it in the fridge – I’ve kept it in overnight to set-up. It helps that the paste is as thick as possible especially when you are using it to wrap the strawberries. He goes a further step to measure out the koshian paste, I found that as long as I wrap each strawberry with the paste in the same way…it works fine.

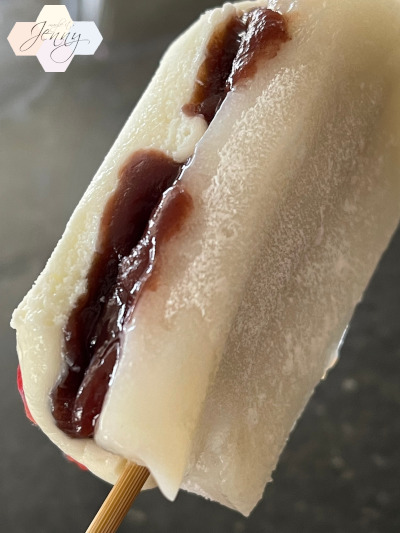
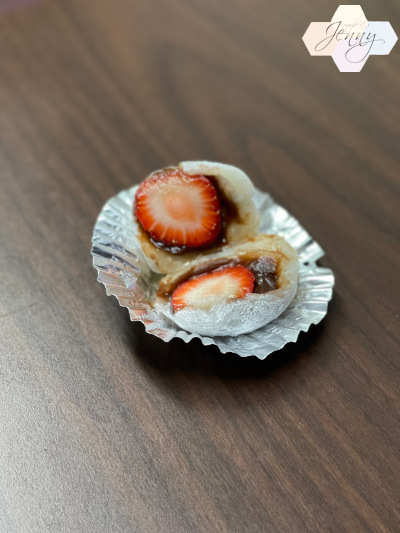
One of the most tedious things about this recipe? Having to wash and thoroughly dry each strawberry. Also!!! How do mochi shops get the same sized strawberries for their mochi?? I had so many different sizes in my one carton…it was frustrating. That is why measuring out the koshian into balls made no difference for me so I just wrapped each strawberry with paste in the same way. I left the tip uncovered to help in the wrapping of the mochi and I think it also keeps it less sweet. This mochi is humbug in the way that you can’t make this ahead of time…you basically have to make it and eat it already. The strawberry can start getting very wet and well, everything needs to be dry to wrap a good mochi.

I don’t have pictures of me wrapping the mochi, I’m sorry. But when my hands are handling hot molten lava covered in corn starch (I didn’t have potato starch) trying to wrap the strawberries…I can’t take pictures. Here one batch of the recipe in the video. I bought this plate from Daiso, a great size. I’m not great with math and I think I can get 6 big daifuku out of this batch.

I followed the video to a T with the measurements. He uses shiratamako, I only had the Blue Star Mochiko so I used that. I also don’t have a 900W microwave oven so I used the handy time table on this page to figure out how long to microwave mine! It worked perfect!!!

I would type out the recipe but really, the credit all goes to this blogger, RECIPE.

My recipe notes:

  • I used mochiko instead of shiratamako
  • I wrapped the strawberries fairly quickly out of the microwave oven because that’s when they are softest. They did maintain the softness throughout the day! My friend even reported that it stayed soft with overnight refrigeration!
  • I followed his measurements in grams and ML. I find that recipes work the best when I follow those measurements

Good luck if you decide to try making this recipe! It was a great success for me and maybe I’ll make it again when it’s peak strawberry season again.

Mixed Plate Friday

This post is forreal mixed plate, not even all food.

Fruit Chichi Dango | $3.99
strawberry, mochi flour, sugar, milk, red bean, custard

Been seeing this all over social media and just had to get it. This is from Kansai Yamato located in Moanalua 99 (former Ranch 99). I figured I should go to the source to get it.

Struggled to get a side view for you. First of all, you should keep this refrigerated. I didn’t realize it was custard on top at first so I kept it out for a bit and boy oh boy did it get melty and messy. Good news is that I did throw the second one in the fridge…ate it the next day and the mochi was still melt the mouth soft. This was a delicious treat! I would definitely get it again!

Clockwise from top left: Baked Char Siu Manapua, Taro Cake, Shrimp Dumpling (Har Gow), Siu Mai, Half Moon

Sing Cheong Yuan Bakery has been around forevers and they always have a long line in Chinatown. Now that we’re heading towards Moon Festival time (September), might be either best to avoid this place or place a phone order in because they are going to be super busy with moon cake orders. If you can believe it, I haven’t tried their dim sum before. I don’t know what it is, I guess if I’m going to be in Chinatown, I’m just going to eat at a Chinese restaurant you know?

So how does it compare? If you’re local to Hawaii and I say local style pork hash, I bet you know what I’m talking about right? The kind you can get from the manapua man….very different from the kind you get from a dim sum restaurant. Now while Sing Cheong’s siu mai looks more “local” style, I actually want to give it more credit and say it’s a balance between the manapua man siu mai and dim sum siu mai.

Baked Char Siu Manapua – Very good, I think Royal Kitchen is a near competitor but I will give this one to Sing Cheong.
Taro Cake – Hmm, no thank you. I’m used to homestyle taro cake which is very thin. I don’t know why taro cakes are so huge in these shops…to me it’s like eating a big lump of dough.
Har Gow – These are winners. They really do stuff it full of shrimp, nice skin too.
Siu Mai – Better than local style, still not as good as dim sum siu mai.
Half Moon – Good but not memorable. Nothing special.

A silly project I had a month ago. Shucks, wish I remembered to take a side picture of this. It’s actually Pikachu on the side. Such a cute vending machine, the bottom draw opens but the machine doesn’t actually do anything. It’s just super cute and it was super annoying to build…hahaha. This was over 2000 pieces and they were like super small pieces. I was obsessed to finish and am super happy with it. I have it proudly displayed at work. Apparently there is like a whole bunch of Asian building block sets that oh so gently copies Lego sets…for less money of course. Have a great weekend folks!

Recipe: Lemon Pudding Mochi with Fresh Blueberries

Earlier this week, I had this sudden craving for something lemon-y. Then I thought, gotta make something lemon with blueberry because they complement each other so well! I found a recipe for Lemon Pudding Mochi from the Honolulu Advertiser and it got started from there! The recipe by itself sounds and looks great already but I just had to play around with it to include the in-season blueberries (and Times had ’em on sale)! So I made adjustments to the recipe and created my own, no coconut (not a fan of shredded coconut) and pile on the blueberries! I was a bit scared of how it would turn out, baking is such a science and you just never know what will come out of the oven. Well, I made ’em, brought ’em to work, and everyone loved them! Including me. 🙂 The original recipe calls for lemon extract which I didn’t have so I used lemon zest…which I think actually makes the recipe better! First some pics…then the recipe!

Check it out guys…the mochi texture was PERFECT. Smooth and soft…with a wonderful brown crust on the sides. Wish I could have had this right out of the oven! The lemon flavor comes through perfectly.

Plump blueberries ready to eat! Much better than the canned kine, this recipe is already so sweet…it’s good to use fresh blueberries so you don’t make it sickly sweet.

I actually mixed the blueberries into the batter and was a bit afraid they would sink to the bottom. To my surprise, the blueberries floated all to the top! The batter of this is pretty thick so I think that’s why the blueberries went up to the top. Ahh…this recipe worked out so well! I almost wanted to keep it all to myself. 🙂

Lemon Pudding Mochi with Fresh Blueberries

Ingredients
16 ounces mochiko sweet rice flour (1 box)
2 ¼ cups sugar
4 teaspoons baking powder
1 (3 ounce) box instant lemon pudding
2 cups coconut milk
1 cup 2% milk
1 (1/2 cup) package unsalted butter, melted
5 eggs, lightly beaten
3 lemons worth of finely grated lemon zest
9 oz. fresh blueberries (I used 1 ½ of those 6 oz. blueberry clamshells from the supermarket)

Directions
Heat oven to 350 degrees. Get a 13 x 9 glass pan.
In a large bowl, stir together sweet rice flour, sugar, baking powder, grated lemon and pudding.
With a balloon whisk, gradually whisk in coconut milk and dairy milk to beat out lumps.
One at a time, stir in melted butter, then the beaten eggs.
Gently stir in the blueberries.
Pour into baking dish.
Bake 1 hour or until an inserted toothpick comes out clean.

No real notes on this recipes, I put my ingredients and instructions as is! I hope you folks get to make it, let me know how it comes out if you do! Enjoy!

Posted in Recipe

Tags:

Permalink 2 Comments

Recipe: Custard Mochi

Okay before I begin, I have a funny story to tell about this. I saw this recipe online and was amazed at this mochi. I had never seen a mochi recipe that separated into a layer of mochi, a layer of custard and then a glorious layer of crust (yes, I count a good crust as a layer!). Needless to say, I had to make it right away and I am so happy I did. It’s a pretty crazy recipe, it asks for 4 cups of milk and 4 eggs…but we are making custard! How did it turn out? Heavenly. Absolutely perfect. I followed the recipe exactly but I have some tips of my own after the recipe I’m going to post.

Funny story. So I got into work and wrote an e-mail out to the staff about how I never saw this kind of mochi before and told them all to give it a try.  Then one of my coworkers tells me she has made this same exact recipe and brought it to the office at least three times. OOPS. I felt really bad but I kept laughing too! Not at her but at me writing that e-mail to the staff like I found something new or something! Luckily she wasn’t too mad since we are pretty close…lol. Here are the pictures!

140223-01Look at that awesome crust. No can beat that…

140223-02You see the layering? Oozy custard in the middle…

140223-03Wish I had a nice one sliced up to take a picture of…I was too busy trying to eat it! It is crispy, creamy, chewy all at once. All that texture makes for the perfect dessert.

Custard Mochi

Ingredients
1/2 cup butter, softened
1 3/4 cup sugar
4 cups milk (2% or higher)
4 whole eggs
2 tsp vanilla extract
2 cups mochiko (rice flour)
2 tsp baking powder

Preheat oven to 350 degrees. Grease 13 X 9 pan. In large bowl, cream butter and sugar. Add eggs one at a time, beating after each addition. Add remaining ingredients and mix until well blended. Pour into pan and bake for 1 hour and 20 minutes, or until center is firm. Cool and chill in refrigerator. Cut into squares — my mom suggests using a plastic knife for easier cutting. Do as Mom says, she knows best.

Recipe from Wasabi Prime.

Jenny’s tips:
1) You must use a glass pan, no exceptions!
2) Do not chill it in the refrigerator! For me, I baked it at night and let it cool overnight at room temperature. Then I served it out to my office in the morning and bugga was gone before I could even throw it in the fridge. Well I did save a few pieces for my family which I did throw in the fridge (since there’s custard) and it did not taste good. The crust got really mealy and ruined the whole mochi for me, but these are just my personal tips.

Kiyomizu-dera – Kyoto, Japan

I have a lot of pictures from my visit to this wonderful temple in Kyoto.  Today, I just wanna do a quick update with a few pictures.  I’ll try to upload the rest soon!  This post also marks the 30th straight day I have posted on this blog, a full month!  I’m quite proud of myself.  🙂  I hope to keep this up!  It’s been nice to have a little hobby.  It’s also helping me to use my camera more again!  Thanks for the visitors…or spam robots.  Someone is visiting this site anyhow.  Hehe..

I was so lucky to get a shot of this pair...

I was so lucky to get a shot of this pair…

Continue reading